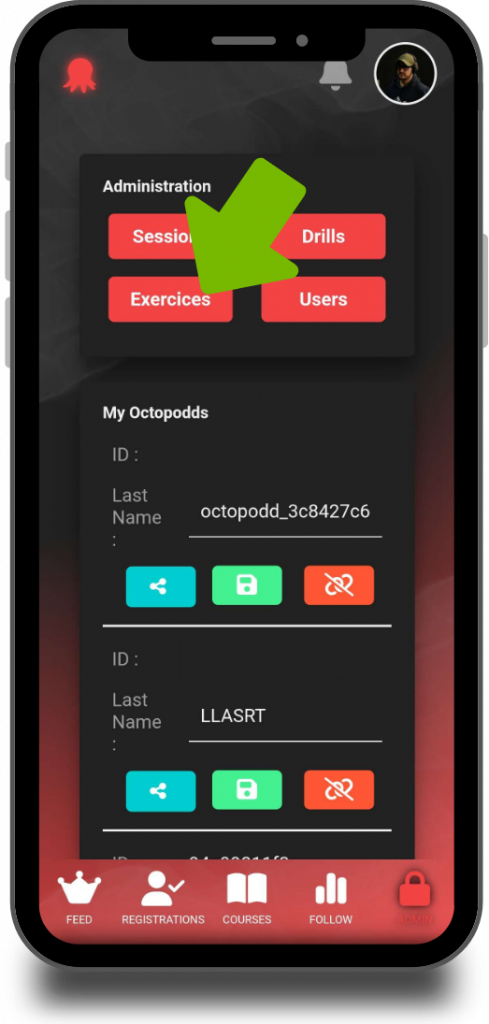
The “Exercises” menu allows you to create your own custom training exercises.
When using it for the first time, a tutorial will guide you through the various features. You can add events intuitively and organize them in the desired order, step by step.
Adding a Laser
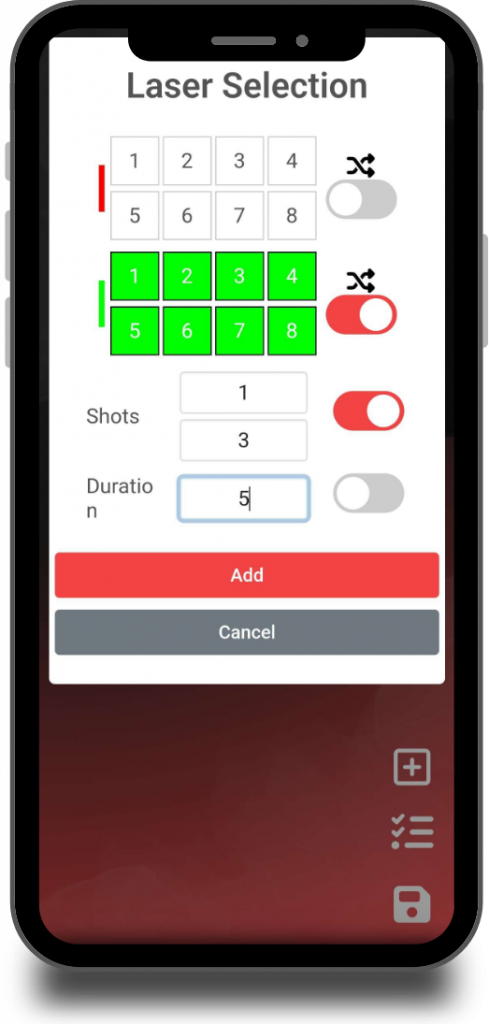
The scenario builder works with events. To start, drag the red and green dot (located on the right side of the screen) into the first empty step. A window will appear, allowing you to select which lasers to activate.
You can choose between manual or random selection. To activate a random red or green laser, use the small crossed-arrows icon on the right side of the corresponding line. When random selection is enabled, the laser will be chosen differently each time the scenario runs, allowing for varied experiences between trainees.
You can also activate multiple lasers at once by clicking on their numbers.
Below, in the “Shots” section, you can specify a fixed number of shots required to complete the step, or set a range (for example, from 1 to 3 shots). If the random mode is enabled, a number within that range will be selected each time the scenario is played.
Entering “0” means no shot is required. This can be useful when designing steps focused only on visual recognition — for example, shooting only green lasers and ignoring red ones.
Finally, define the maximum duration allowed to complete the step. If you set “0 shots,” you still need to specify a duration; otherwise, the step would end instantly. If you set a duration of 0 with shots required, the shooter can complete the step with no time limit.
Once the step is configured, tap “Add,” then repeat the process for the following steps. Don’t forget to save your scenario when you’re done.
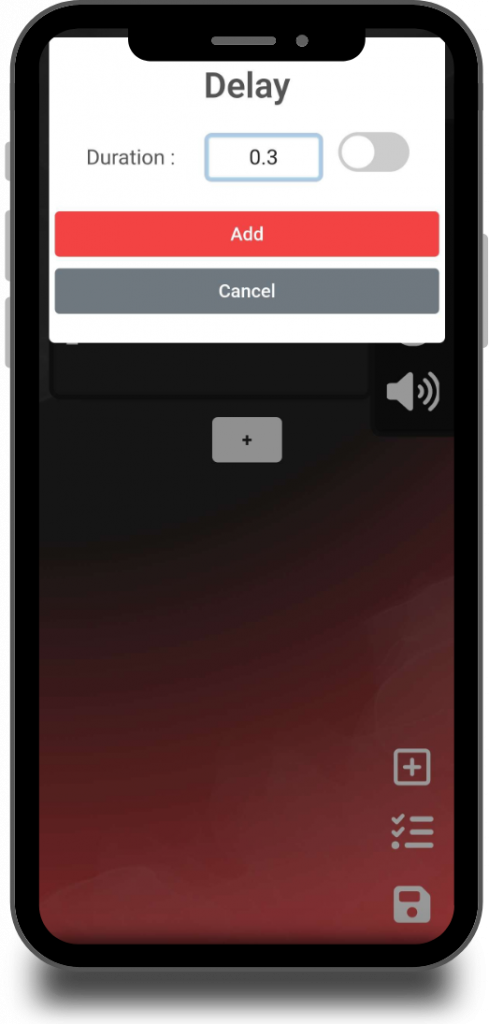
Adding a New Step and a Delay
You can then add a new step by clicking the “+” button.
Ideally, before adding another laser step, insert a delay. To do this, create a new empty step, then drag and drop the clock icon from the right side of the screen into it.
Add a short delay. This helps check whether the shooter fired extra shots in the previous step. If two laser steps requiring shots follow one another without a gap, excess shots from the first step might be counted in the second.
You can also set a longer or even random delay. This can be useful to train skills such as observation, decision-making, or room scanning between actions.
Adding an Octopadd Step
Adding an “Octopadd” step to your scenario is simple. Click the “+” button in the scenario creation tool to create a new step.
You can choose to make the step random, letting the app automatically select the Octopadd number and color, or you can define exactly which Octopadd lights up and in which color.
Enter the number of the Octopadd you want to use. If you’re unsure which number corresponds to which physical device, refer to the “Installing Octopadds” article.
Just below, you can define the condition required to move on to the next step during the scenario:
touching the Octopadd, shooting it, or keeping it lit for a specific duration.
Saving the Exercise
To save your scenario, click the floppy disk icon at the bottom right of the screen.
Then select the Octopodd you want to link the exercise to, give it a name and a description, and click “Save.”
Once the exercise is saved, switch the app to timer mode. Tap the “Exos” tab at the bottom of the screen — your scenario will appear in the list.