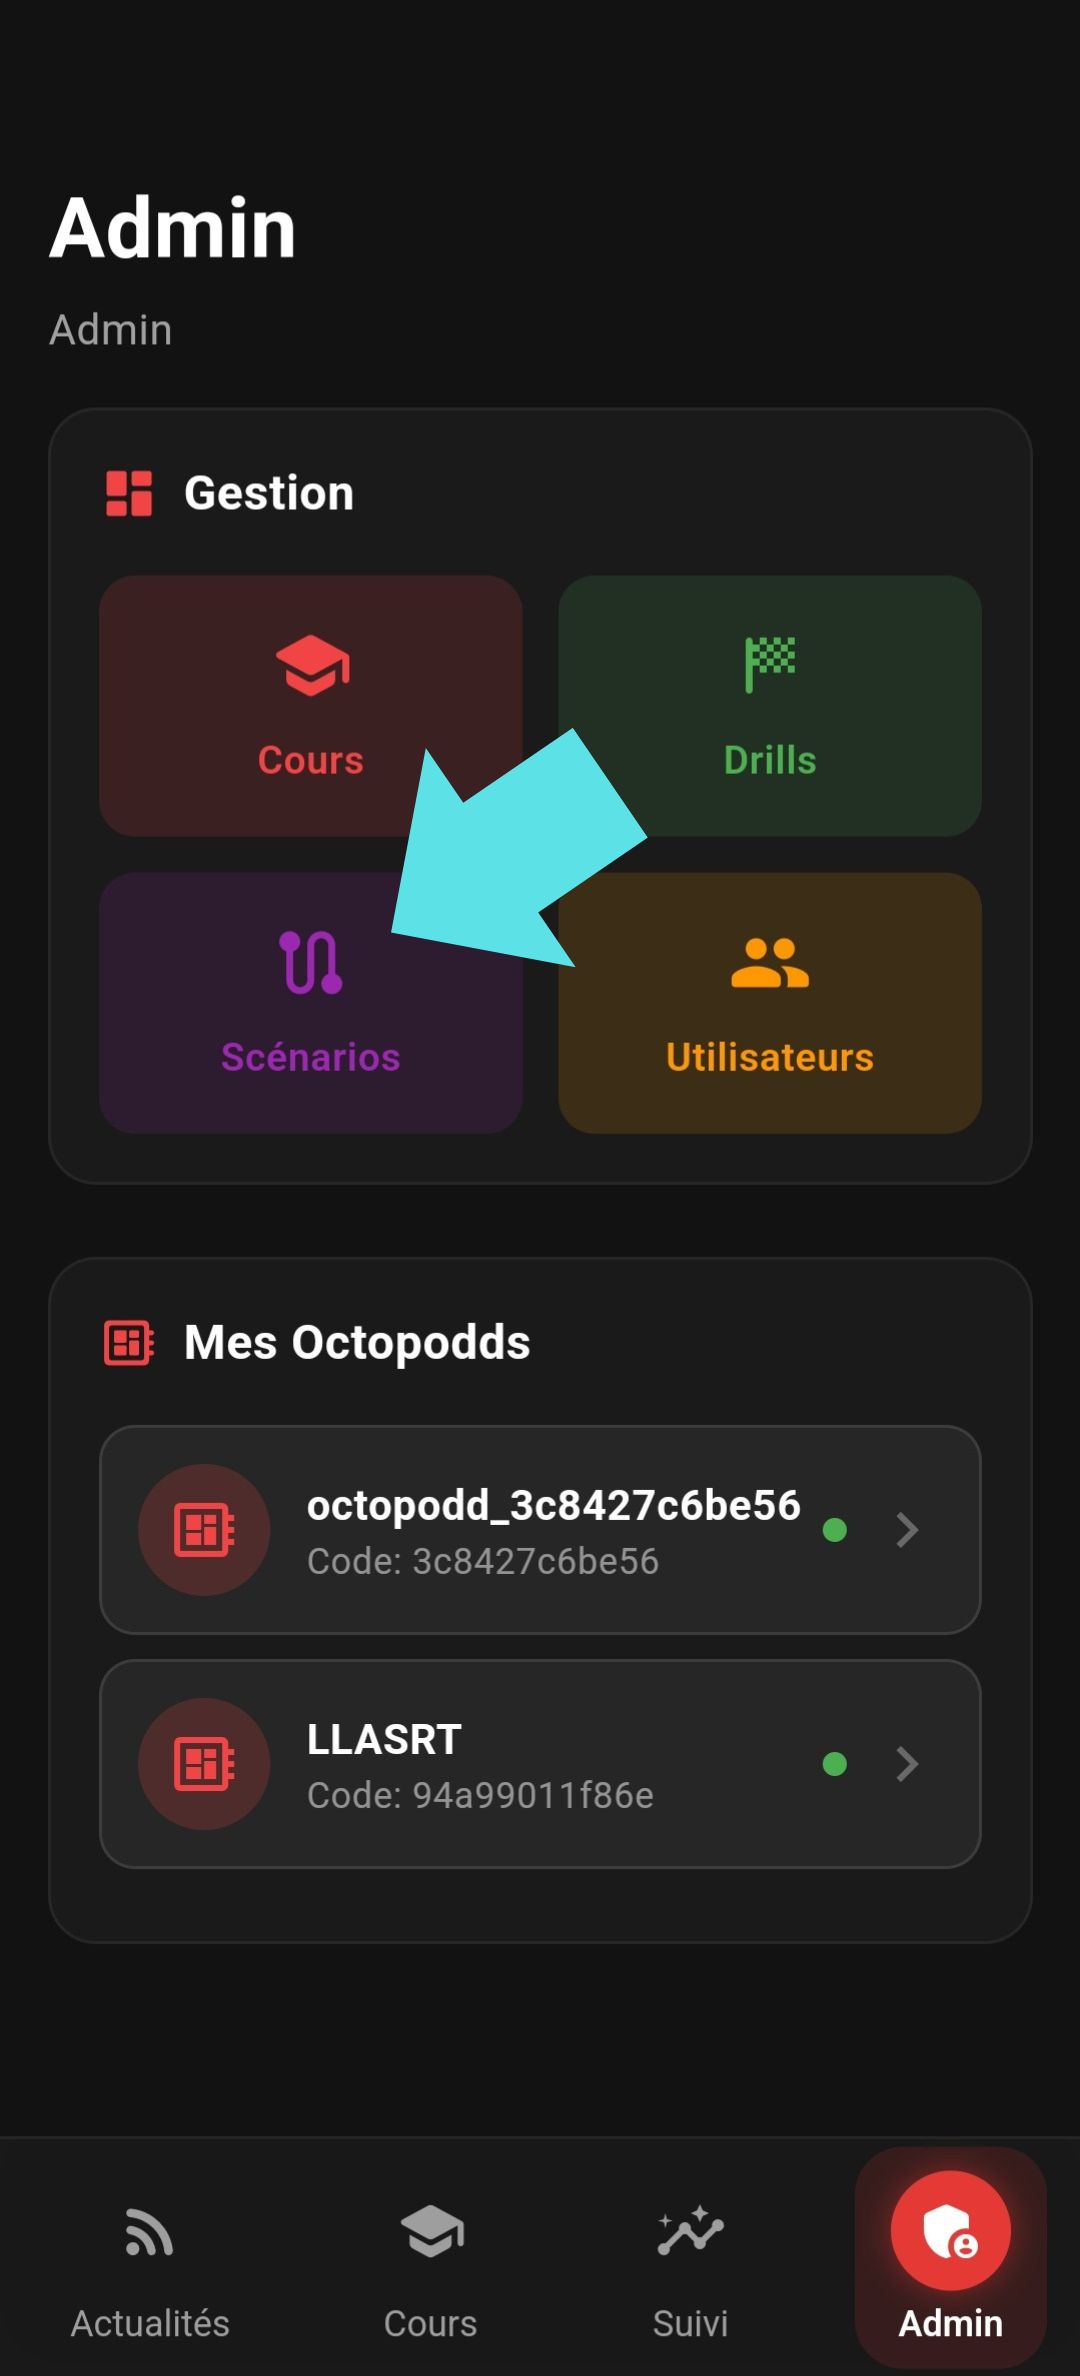
The “Scenarios” menu allows you to create your own custom scenarios.
On first use, a tutorial guides you through the different features of the scenario creator.
Add a laser
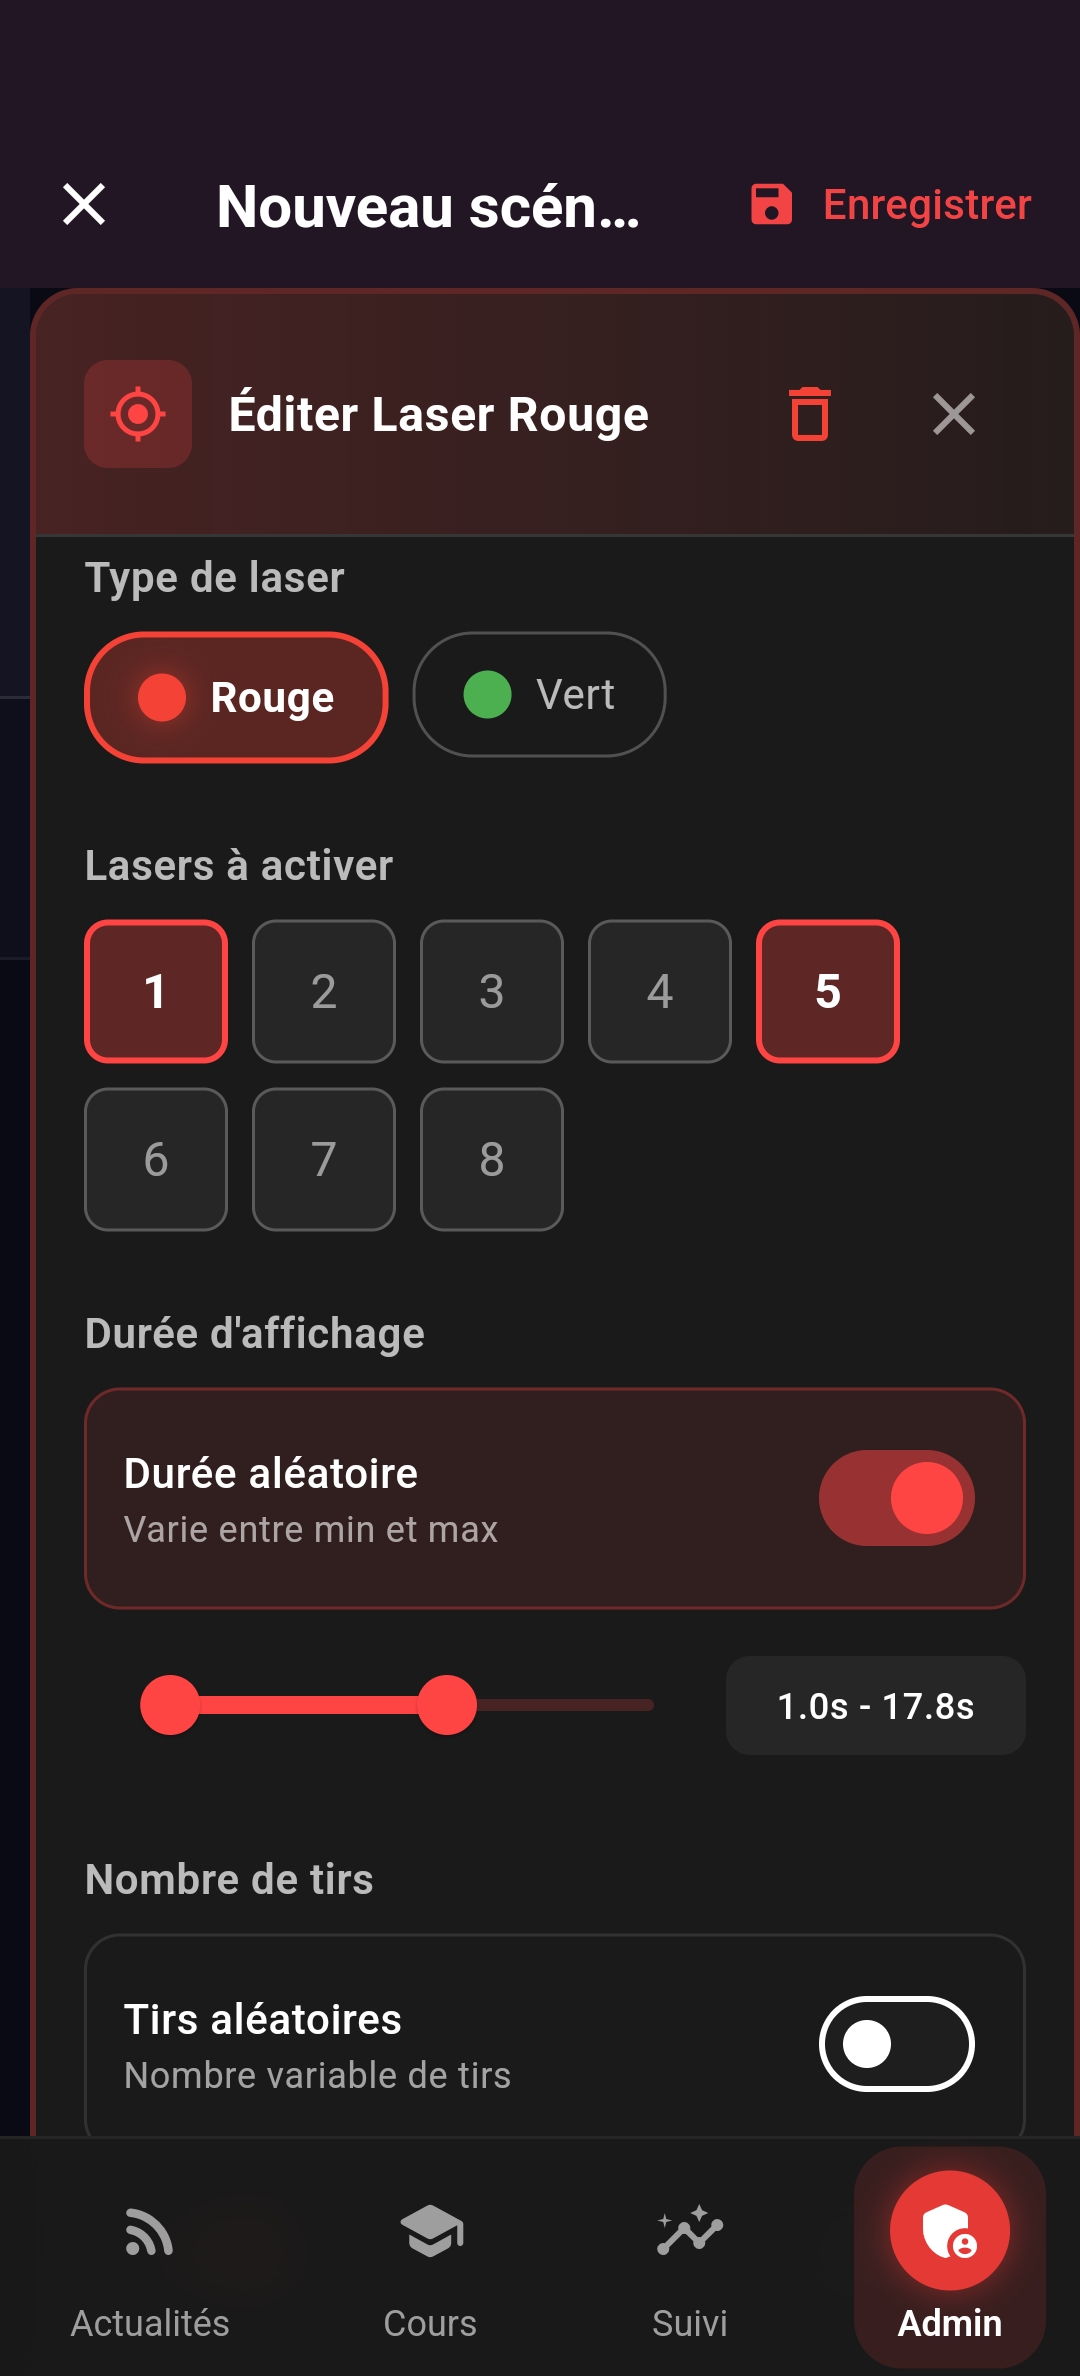
The scenario creator works with events. To get started, drag the red or green dot onto the timeline to add a laser event.
You can choose between manual or random laser color selection. It is also possible to activate multiple lasers simultaneously.
In the “Shots” section, you can specify a fixed number of expected shots or leave the system in free mode. Entering “0” means no shots are required for this step.
Finally, set the maximum duration allowed for this step. Once configured, click “Add”, then repeat the process for the following steps.
Add a new step and a delay
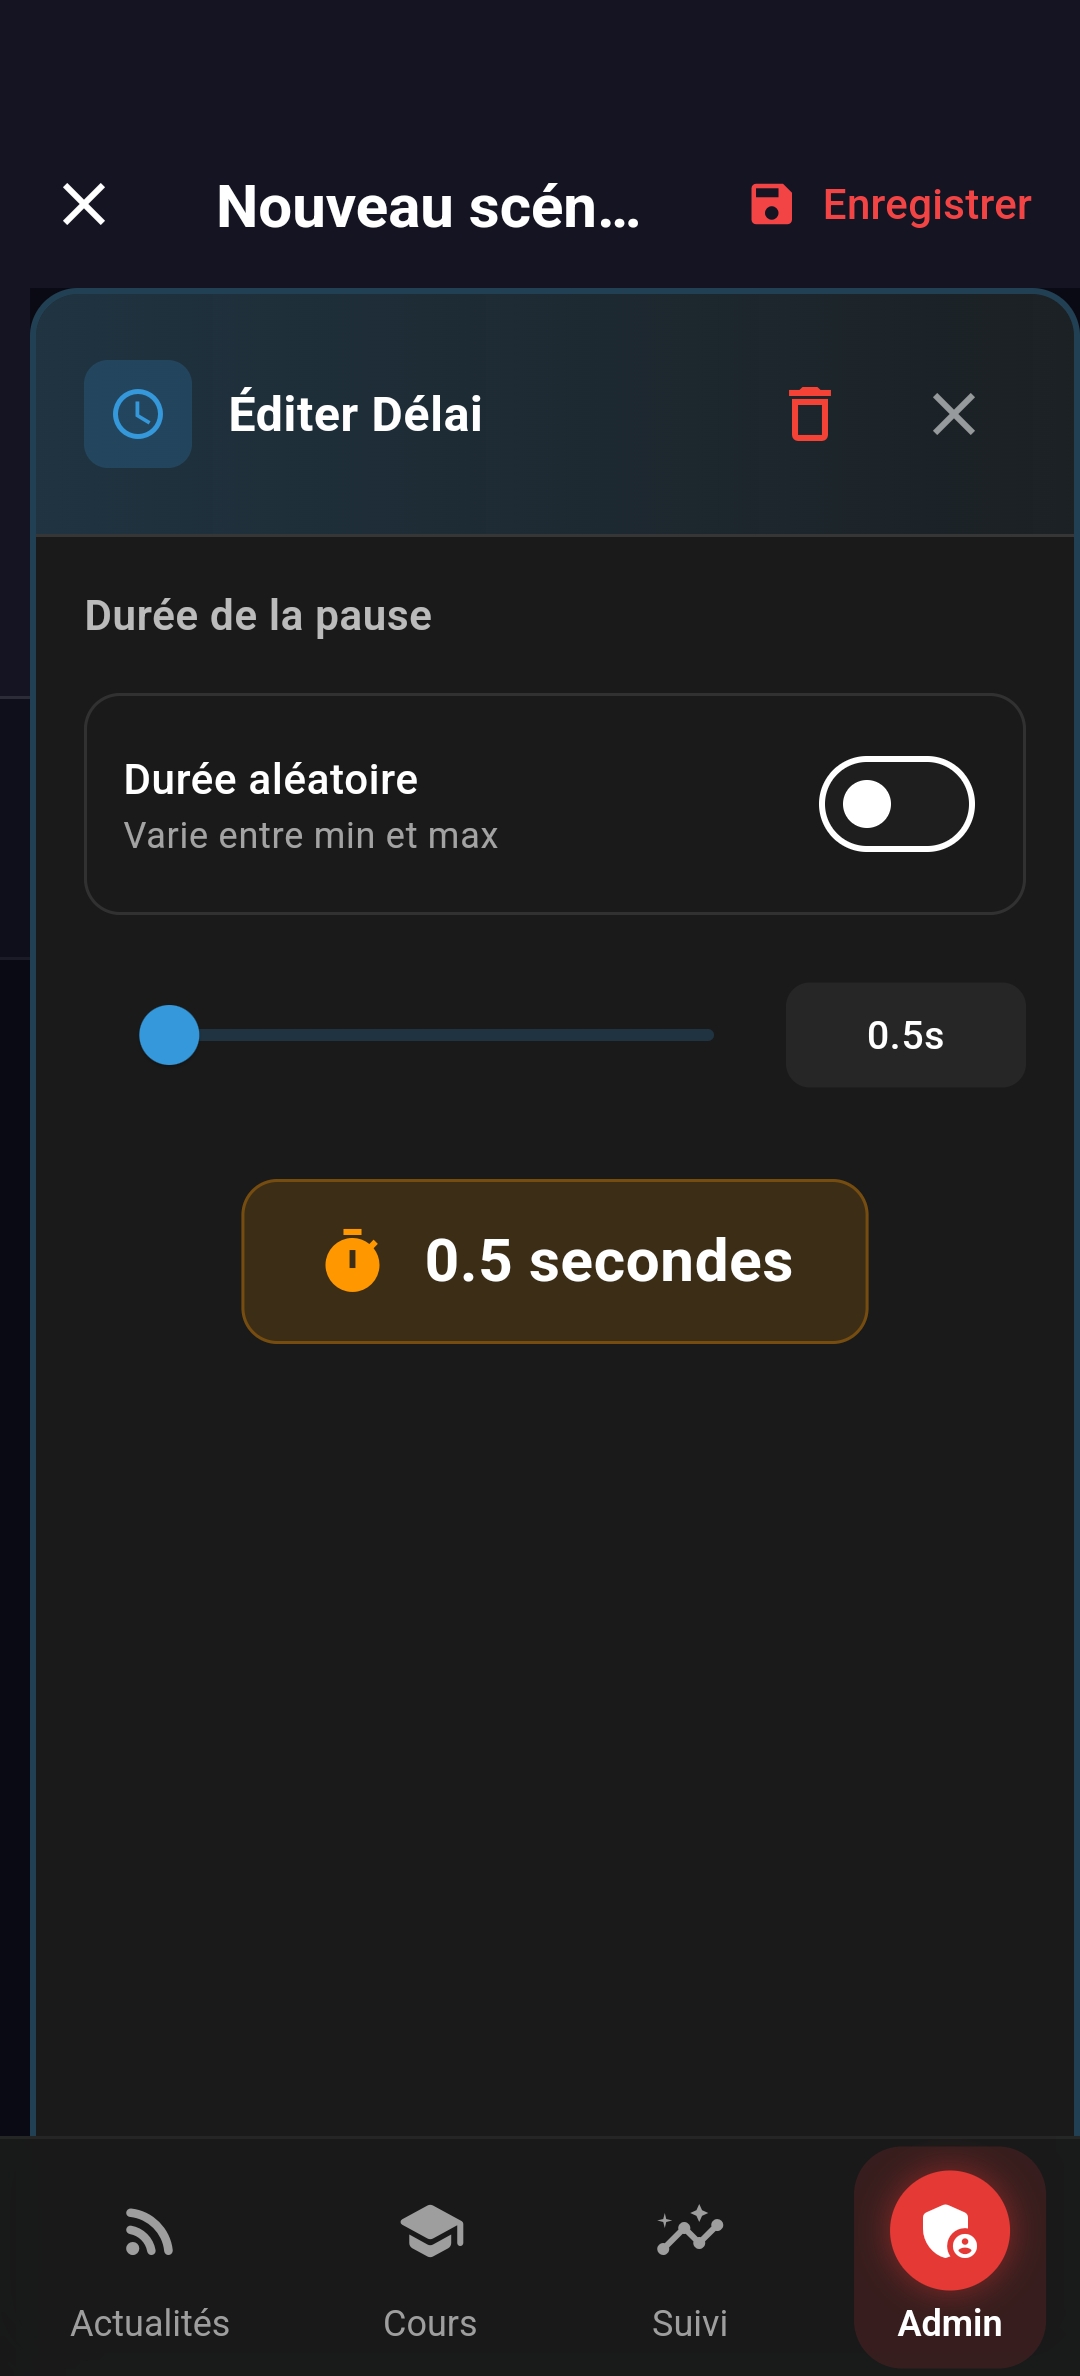
You can then add a new step by clicking the “+” button.
Ideally, before adding a new step with a laser, insert a delay. Add a short delay — this will allow you to check whether the shooter fired extra shots. You can also set a longer duration for this delay, depending on your needs.
Add an Octopadd step
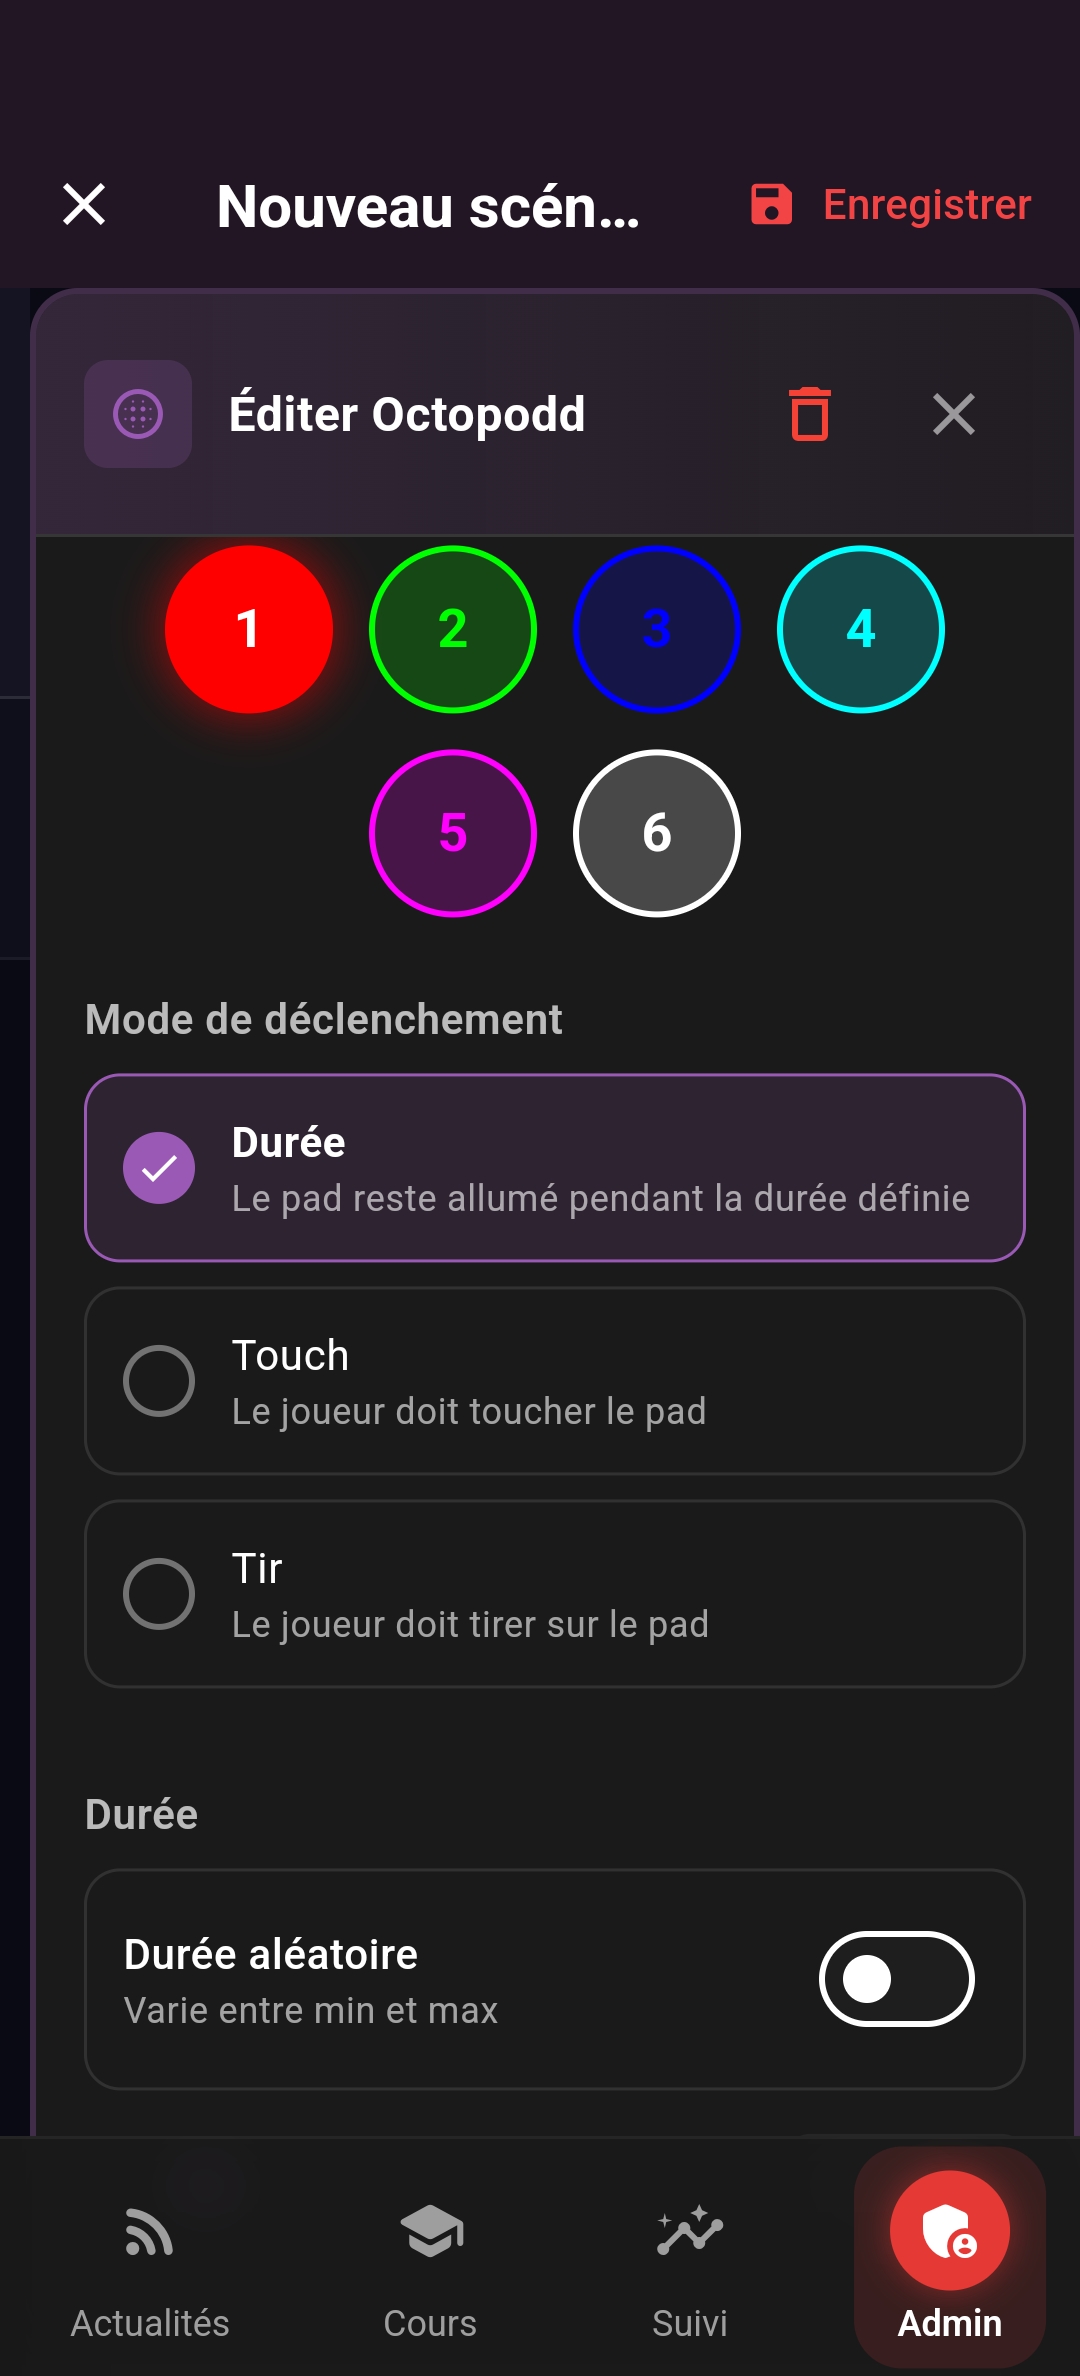
To add an “Octopadd” step to your scenario, simply drag the corresponding element onto the timeline.
You can choose to make the step random and specify the number of the Octopadd you want to use.
Just below, you can define the required condition to move to the next step: touch the Octopadd, shoot at it, or a set delay.
Save the scenario
To save your scenario, click the floppy disk icon in the top right corner.
Once the scenario is saved, switch the application to Timer mode and select your scenario to launch it.